Friday, March 10, 2017
The Buddha in mud
Narrated by Thuần Bạch
Translated by Ngọc Bảo
Once there was a thief. One day he was found while he was breaking into a house. Off he ran as fast as he could, until he reached a dam. He jumped to the bank of the dam, fearful of the people in hot pursuit after him. Looking around, there was no bush to hide in, so he just sat down on a clump of weeds full of mud. Petrified with fear of being caught, he dared not move, just sat motionless with his eyes closed. The pursuers were startled when they found a muddy man sitting motionless. They asked themselves: “Who is this man?” One of them thought this man looked like someone in meditation, so he told the others: “He’s a monk in meditation!” Everybody became respectful, they bowed to him and asked: “Master, we are sorry to bother you, but did you see a man running by earlier? We are looking for a thief.” The thief reply: “Oh no... I did not notice anything…” So they left, but came back after a while. The thief was still sitting there, because he did not know where to go. Thinking this is a kind of profound meditating practice, the pursuers were full of respect. They asked him to become the monk of the village’s temple, which until now had been without any residing monk. Being in such a situation, the thief had no other choice than to accept it.
Although living in the temple, a thief was always a thief. He soon thought of stealing the valuable things in the temple and take off when there was a chance.
That morning, he went into the main shrine, removed all the valuable statues, worshipping appliances etc... stuffed them into a bag and got ready to go. Suddenly there came a crying believer, because a member of his family just passed away last night. The believer asked him to go to his house to pray for the dead. The thief hastily put down his bag, acting as though he was just dusting and cleaning the appliances. He comforted the believer, took his name on a piece of paper, then promised to go there to pray. Sighing disappointingly for his foiled plan, he put back all the stolen things and set out to the believer’s house. Before that, he was careful to bring along one of the prayer book that he found in the shrine.
And so the days went by, he stayed in the temple waiting for the good time to leave. But he never had the chance. Believers kept coming, asking questions, or inviting him to their house for funeral prayers, and to be able to serve them he had to read and learn the sutras. Soon he began to practice meditation, chanting the Buddha’s name to relieve himself of his worries and stress. The old thief who was forced to become a monk now had to learn to live the life of a monk, and unexpectedly, this simple life gradually brought peace to him.
A year passed by. His daily schedule now was like the schedule of a real practitioner. He worked all day, cleaning, growing the vegetables, practicing meditation and chanting the sutras every morning and night. He partook in the joy, the sadness of the peasants in the village, shared with them the products that he grew by himself. Looking back at his previous life, he was horrified. How can he think of stealing from these poor, hard working people! He was ashamed of himself. From now on, he would make time to repent for his past sins.
Henceforth, he was transformed from a thief to a real practitioner. All traces of his past life were now erased. He became a new person, a person of goodness and a spiritual support for the people of the village.
Narrated by Thuần Bạch From Hoavouu.com
Taro Soup with Chicken Drumsticks
When we were young, my mom cooked the taro soup with shrimp or pork ribs in
such a way to let us know that we were obedient. Normally, my mother made the
taro soup with dried shrimp to save money for a family with 10 children like
ours. I love this soup either cooked with dried shrimp, fresh shrimp, or pork
ribs, but I do not usually cook this soup because I do not live near a Vietnamese
or Korean food market for all the necessary ingredients. Yesterday, my friend
visited me and gave me some taro that she bough while shopping at a Vietnamese
grocery. I still like the taste of taro soup with shrimp or pork ribs. However,
my diet has changed quite of lot recently, so instead I like to make this soup
with chicken drumsticks. I also encourage people to use kelp broth instead of
water and a few carrots and daikon, which will increase the taste and add
nutrients for this very popular rural soup.
Ingredients:
6 chicken drumsticks
1 lb. taro, peeled, washed and cut in half
1 carrot, cut in thick slices
1 piece of daikon, sliced
1 garlic clove, minced
1 shallot, chopped
6 cups kelp broth*
Seasonings:
1 tsp salt
1/4 tsp back pepper
1 tsp sugar
1 tsp mushroom seasoning
1 tbs fish sauce
Garnish with chopped cilantro and green onions
Directions:
Remove skin from drumsticks, then wash and cut drumsticks into big pieces. Add minced garlic, shallot. salt. let it marinate for a few hours

In a pot, heat 2 tbs peanut oil. Add drumsticks and stir to brown the chicken (about 5 minutes).


Add kelp broth and bring to boil, Cook for 5 minutes and add carrot, taro, and daikon. Season with salt and sugar.

Bring to boil and simmer for 20 to 30 minutes or until the chicken and all the root crops have cooked through.

Adjust the taste with fish sauce at this point.

Ladle the soup into a serving bowl and sprinkle with chopped cilantro and green onions

*To make kelp broth:
Soak a piece of 4” x 4” kelp in 6 cups of water for 30 minutes. Slowly bring to boil and simmer for 5 minutes. Remove kelp and use the cooked kelp in a salad. The broth is ready to use.
Ingredients:
6 chicken drumsticks
1 lb. taro, peeled, washed and cut in half
1 carrot, cut in thick slices
1 piece of daikon, sliced
1 garlic clove, minced
1 shallot, chopped
6 cups kelp broth*
Seasonings:
1 tsp salt
1/4 tsp back pepper
1 tsp sugar
1 tsp mushroom seasoning
1 tbs fish sauce
Directions:
Remove skin from drumsticks, then wash and cut drumsticks into big pieces. Add minced garlic, shallot. salt. let it marinate for a few hours

In a pot, heat 2 tbs peanut oil. Add drumsticks and stir to brown the chicken (about 5 minutes).


Add kelp broth and bring to boil, Cook for 5 minutes and add carrot, taro, and daikon. Season with salt and sugar.

Bring to boil and simmer for 20 to 30 minutes or until the chicken and all the root crops have cooked through.

Adjust the taste with fish sauce at this point.

Ladle the soup into a serving bowl and sprinkle with chopped cilantro and green onions

*To make kelp broth:
Soak a piece of 4” x 4” kelp in 6 cups of water for 30 minutes. Slowly bring to boil and simmer for 5 minutes. Remove kelp and use the cooked kelp in a salad. The broth is ready to use.
Wednesday, March 8, 2017
Baked or Grilled Chicken Drumsticks
The barbecue of East
Asia has always been a favorite throughout the world. Skewers of
grilled meats sold on the streets are very common. The Vietnamese cuisine has a
special BBQ sauce that is very tasteful by marinating all kinds of meat, such
as pork, beef, or chicken, but pork is the most common meat for the skewering
techniques. Today, I will introduce a barbecue marinade recipe that is
delicious. The meat marinated with this sauce will be very tender and moist
after baking or grilling. Use this sauce to marinate all kinds of meats.
Ingredients:
4 lbs. drumsticks
BBQ marinade sauce ingredients:
1 tbs chopped lemongrass
1 tbs chopped galangal
2 garlic cloves, minced
2 shallots, minced
1 tsp turmeric
1 tsp coriander powder
2 tbs honey
1 tbs sugar
1 tsp oyster sauce
1 tsp salt
2 tbs soy sauce
1 tbs fish sauce
2 tbs vinegar
Directions:
Wash and drain the drumsticks. Use knife to slit each drumstick a few times.


Combine all the BBQ sauce ingredients in a bowl. Mix well. Place chicken in a Ziploc bag and pour the sauce mixture over the chicken. Refrigerate overnight or for a few hours.

Preheat the oven set to 350°. Line a baking sheet with foil to save time for cleaning. Place chicken on the prepared baking sheet.

Bake for 20 to30 minutes. Turn the meats once half way through.
Prepare the BBQ grill and grill the meat.


Easy Raisins-Nuts Oatmeal Cookies
For me, a good and healthy snack is this chock-full of nuts cookie. I know
it will have some sugar and butter. However, baked cookies are and America
Ingredients;
Dry ingredients:
1 cup all-purpose flour
1 cup rolled oats
1/2 tsp baking powder
1/4 tsp baking soda
1/2 cup raisins
1/2 cup chopped nuts (your choice)
Wet ingredients:
1/2 cup softened margarine
1/4 cup brown sugar
1/4 cup white sugar
1 egg
1 tsp vanilla
Directions;
Preheat oven set to 350°. Grease cookie sheets or line with parchment paper.
Use a handheld mixer to beat the egg, both sugars, and vanilla in a medium bowl until fluffy.
Combine the dry ingredients and mix well.

Stir the dry ingredients into the well-beaten wet ingredients and stir well.

Drop rounded tablespoonfuls of batter 2 inches apart onto the prepared cookies sheets.

Bake 12 to 16 minutes or until cookies are lightly brown around the edges. Remove to wire racks to cool.

Cassava Sweet Rice (updated)
Since mastering the pressure cooker, I've changed a lot of recipes for devout
readers who visit my blog. Today, I will update the cassava sticky rice recipe by
using a pressure cooker. With a pressure cooker and rice cooker, this dish will
be finished very quickly. I use coconut milk when cooking cassava because
coconut milk is good for our health. In addition, coconut milk will make
cassava taste creamier with natural fat. The following is a recipe for making a
very rustic dish which is quite easy to make. This is a fantastic dish for breakfast.
Ingredients:
For the cassava:
1 cassava
1 ½ cups coconut milk
1/2 tsp salt
1 tbs sugar
For the sweet rice:
2 cups sweet rice, long or short rice
1 tsp salt
1 to 3/4 cup water
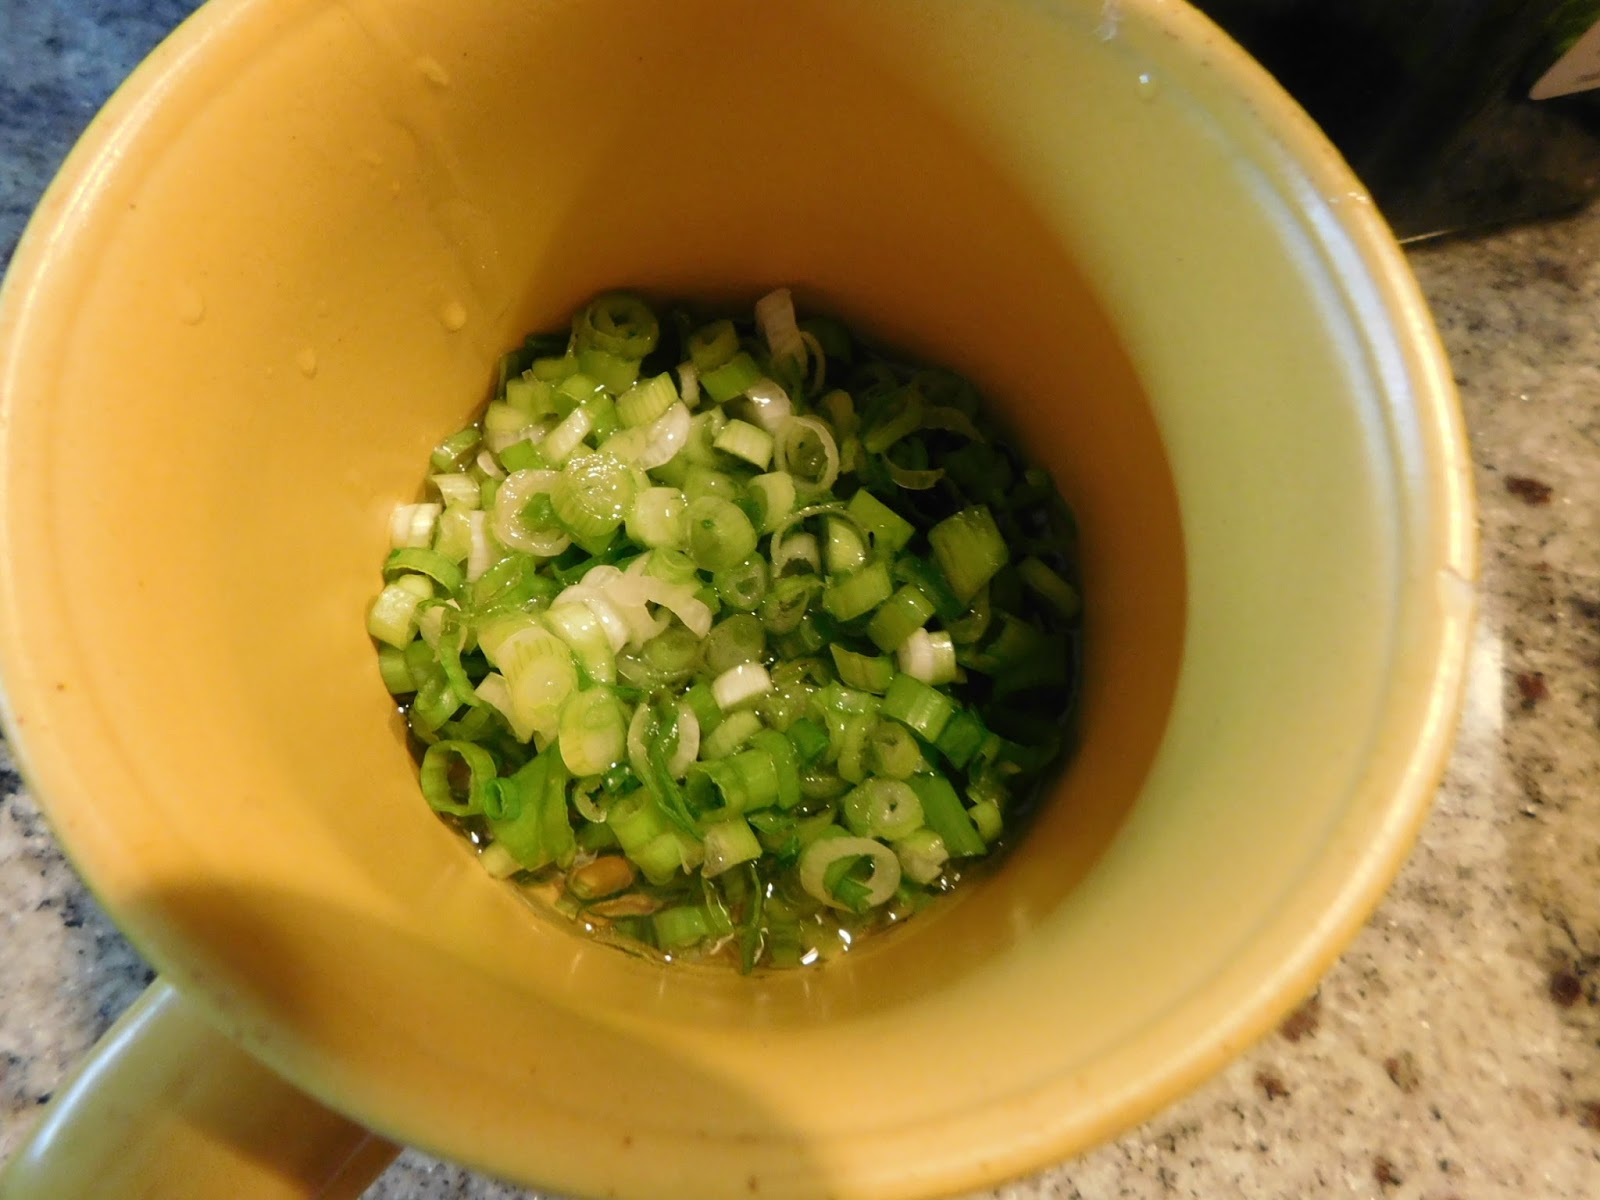
For the scallion oil:
3 green onions, diced
1/4 cup oil
1/8 tsp salt
1/8 tsp sugar
Directions;
Peel the cassava skin and wash. Cut into 2 inch sections, and then cut in half. Place them in the pressure cooker.


Add coconut milk, sugar, and salt. Follow the instructions for safety.

It will take 5 minutes to completely cook or 3 minutes to partly cook the cassava. Let the cooked cassava cool off and cut into cubes.

Wash the sweet rice and add the cubed cassava and mix well. Add salt. Place the sweet rice-cassava mixture in the rice cooker and add water.


Close the lid and turn the dial to cook setting.
While the sweet rice is cooking, put the scallion oil in a microwave safe bowl and cook the green onions for 30 seconds.


To Serve:
Scoop the cooked sweet cassava rice onto an individual serving dish and top with scallion oil. Serve on the side with soy dipping sauce.

Ingredients:
For the cassava:
1 cassava
1 ½ cups coconut milk
1/2 tsp salt
1 tbs sugar
For the sweet rice:
2 cups sweet rice, long or short rice
1 tsp salt
1 to 3/4 cup water
For the scallion oil:
3 green onions, diced
1/4 cup oil
1/8 tsp salt
1/8 tsp sugar
Directions;
Peel the cassava skin and wash. Cut into 2 inch sections, and then cut in half. Place them in the pressure cooker.


Add coconut milk, sugar, and salt. Follow the instructions for safety.

It will take 5 minutes to completely cook or 3 minutes to partly cook the cassava. Let the cooked cassava cool off and cut into cubes.

Wash the sweet rice and add the cubed cassava and mix well. Add salt. Place the sweet rice-cassava mixture in the rice cooker and add water.


Close the lid and turn the dial to cook setting.
While the sweet rice is cooking, put the scallion oil in a microwave safe bowl and cook the green onions for 30 seconds.

To Serve:
Scoop the cooked sweet cassava rice onto an individual serving dish and top with scallion oil. Serve on the side with soy dipping sauce.

Friday, March 3, 2017
Cooking with a Pressure Cooker
People visiting my blog may think that I am doing advertising for Costco. This
supermarket is actually very convenient for those who cook like me because of
the convenience of one-stop shopping. Life is very fast and busy these days, so
to have a good, healthy food for the family without spending too much
time, I suggest mastering the use of a pressure cooker. Usually, this kitchen
appliance costs around $70, but last month at Costco it sold for only $20. I recently
read about the history of the pressure cooker. Numerous dangers could happen
while cooking, so I feel reluctant. However, because the price is so cheap, I
thought I should also give it a try. I cannot exaggerate the feeling
of happiness that I feel when cooking beans using a pressure cooker. Asian
families, such as mine, are used to cooking all kinds of beans for a variety of
dishes. Depending on the type of beans, big or small, using a pressure
cooker will take about 7 to 10 minutes. Asians also usually eat rice. They
often own a very expensive rice cooker that costs about $100 to more
than $200. Costco also sells a rice cooker that has many uses for only $30. After
the beans are cooked in a pressure cooker, just mix the beans with sticky rice
and put it in the rice cooker, and you will have a good breakfast that is very
fast and convenient. The convenience of using a pressure cooker is not
just the cooking time but also keeping the nutrients in foods intact,
which is a significant advantage for the pressure cooker. By the way,
today I will share an easy meal for breakfast by using both a pressure cooker
and an expansive rice cooker from Costco. It is a sticky black beans recipe,
and hopefully this article will help to save time and also to bring delicious
but nutritious food to your loved ones.
Ingredients;
For the beans:
1 cup black beans
1/4 tsp salt
2 cups water
For the sweet rice:
2 cups rice
1/2 tsp salt
1 ¾ cups water
Directions:
Soak the beans overnight. Drain and place beans in a pressure cooker. Add salt and 2 cups of water. Read the pressure cooker manual for your safety and start to cook. I found that with soaked black beans, it takes 7 minutes. You find it necessary to adjust the cooking time for each type of beans that you use.
After the beans have cooked, drain the beans. You might want to use some of the cooked water ready remaining. It will make the rice more colorful.
Wash the rice and mix well with cooked beans. Place them in the rice cooker and add water and salt. Stir to mix and close the lid. Follow the cooking instructions. I use the susi function, and it turned out perfectly. The amount of water necessary will depend on the kinds if sweet rice that you use, therefore you need to adjust the water as well.
Wednesday, March 1, 2017
"Cotton" Mushrooms Topping for Vegetarians
In vegetarian dishes, the “cotton”
mushrooms topping is welcome to vegans because it is convenient and easy to
prepare. The cotton mushrooms topping has a variety of uses. It can be served for breakfast when making sandwiches
or placed over sticky rice or cooked Ramen noodles for a wonderful taste, and
it saves a lot of time in the morning or dinner. We all know that all kinds of
mushrooms are nutritious for the body, but especially because the fungal-mushroom’s
protein can be substituted for meat. Therefore, when making a vegetarian dish, mushrooms
are always a main ingredient to present. Fresh shitake mushrooms is a main
ingredients to use for this dish. I also use the king oyster mushrooms as well.
I hope that this vegetarian cotton mushrooms topping will be shared with your
family.
Ingredients:
1 lb. king oyster mushrooms
1 lb. shitake mushrooms
Spices:
1 tsp mushroom seasoning
2 tbs soy sauce
1/2 tsp salt
2 tsp sugar
1 tsp vegetarian oyster sauce
2 tbs vegetarian fish sauce
Directions:
Remove the caps of the shitake mushrooms. Save the mushroom caps for other uses. Just use the bottoms of the mushrooms for this recipe.
Cut the king oyster mushrooms the same length as the skitake mushrooms.
In a pan, add 3 cups water and the spices. Bring to boil and add both types of mushrooms. Cook for 20 minutes. Drain and let cool. Squeeze out the excess water until all the mushrooms are dry.


In a KitchenAid® or other blender, place the mushrooms and shred (you may have to use your hands to shred the mushrooms into thin strips.. Use whichever way works for you so long as it is not a gift to someone that needs to look pretty. The taste is the same with either the long or short strips of mushrooms.
In a large sauté pan, add about 2 tbs of oil and pan- fry the mushrooms until completely dry. Adjust the seasoning during this time. Use salt instead of soy sauce because the cotton mushrooms need to be dry.

Put in an airtight container to last for years.


Subscribe to:
Posts (Atom)